Pan-Fried Pork Buns
Pan-fried pork buns (Sheng Jian Bao)
A delightful blend of soft, fluffy bread with a juicy, savory filling, strike the perfect balance between steamed bao and crispy potstickers.
With Lunar New Year just around the corner, I’ve been craving these delicious pan-fried pork buns—soft, fluffy dough with a crispy base, filled with juicy, savory pork. They remind me of celebration and comfort, but let’s be real: life with a toddler like Hudson means I have to get creative with my cooking schedule!
A Late-Night Prep for a Next-Day Feast
Between work, getting Hudson settled after daycare, and the whirlwind of evening routines, there’s not much time for elaborate cooking after 8 pm (aka bedtime). But these buns are worth the effort, so I decided to split the process into two manageable steps:
Late-Night Prep: After Hudson went to bed, I tackled the dough and filling. The dough came together quickly, and while it rested, I mixed up the filling with pork, green, and Shaoxing wine for flavor. Both went into the fridge for an overnight nap.
Next-Day Assembly: The next evening, I rolled, filled, and cooked the buns after getting home from work. Splitting the process meant I could enjoy fresh buns for dinner without feeling rushed.


Ingredients
For the Dough:
2 ½ cups (300g) cake flour* (substitute: 2 cups + 2 tablespoons (270g) all-purpose flour plus 1/3 cup (30g) cornstarch)
⅓ cup (70g) granulated sugar
2 tsp (9g) baking powder
2 ¼ tsp (7g) instant yeast
⅔ cup (150ml) water
2 tbsp vegetable oil
For the Filling:
1 lb (500g) ground pork
1 tbsp Chinese Shaoxing wine
1 tbsp soy sauce
1 tbsp finely grated ginger
1 chicken stock cube, crumbled
¼ cup (60ml) water
3 tbsp finely chopped spring onions
3 tbsp finely chopped cilantro
¼ tsp ground white pepper
1 tsp salt
½ tsp sugar
For Cooking and Serving:
3 tbsp vegetable oil
White and black sesame seeds, for garnish
Dipping sauces:
Soy sauce + vinegar + ginger (classic)
Chili oil + soy sauce
Instructions
1. Make the Dough
In a large bowl, mix the cake flour (or substitute), sugar, baking powder, and instant yeast.
Create a well in the center, pour in water and oil, and mix with a wooden spoon until the dough forms.
Knead the dough for 10 minutes until smooth and springy. Place it in a greased bowl, cover, and let it rest for 1 hour (or refrigerate overnight).
2. Prepare the Filling
In a large bowl, combine all the filling ingredients and mix thoroughly until well combined.
Cover and refrigerate if not using immediately.
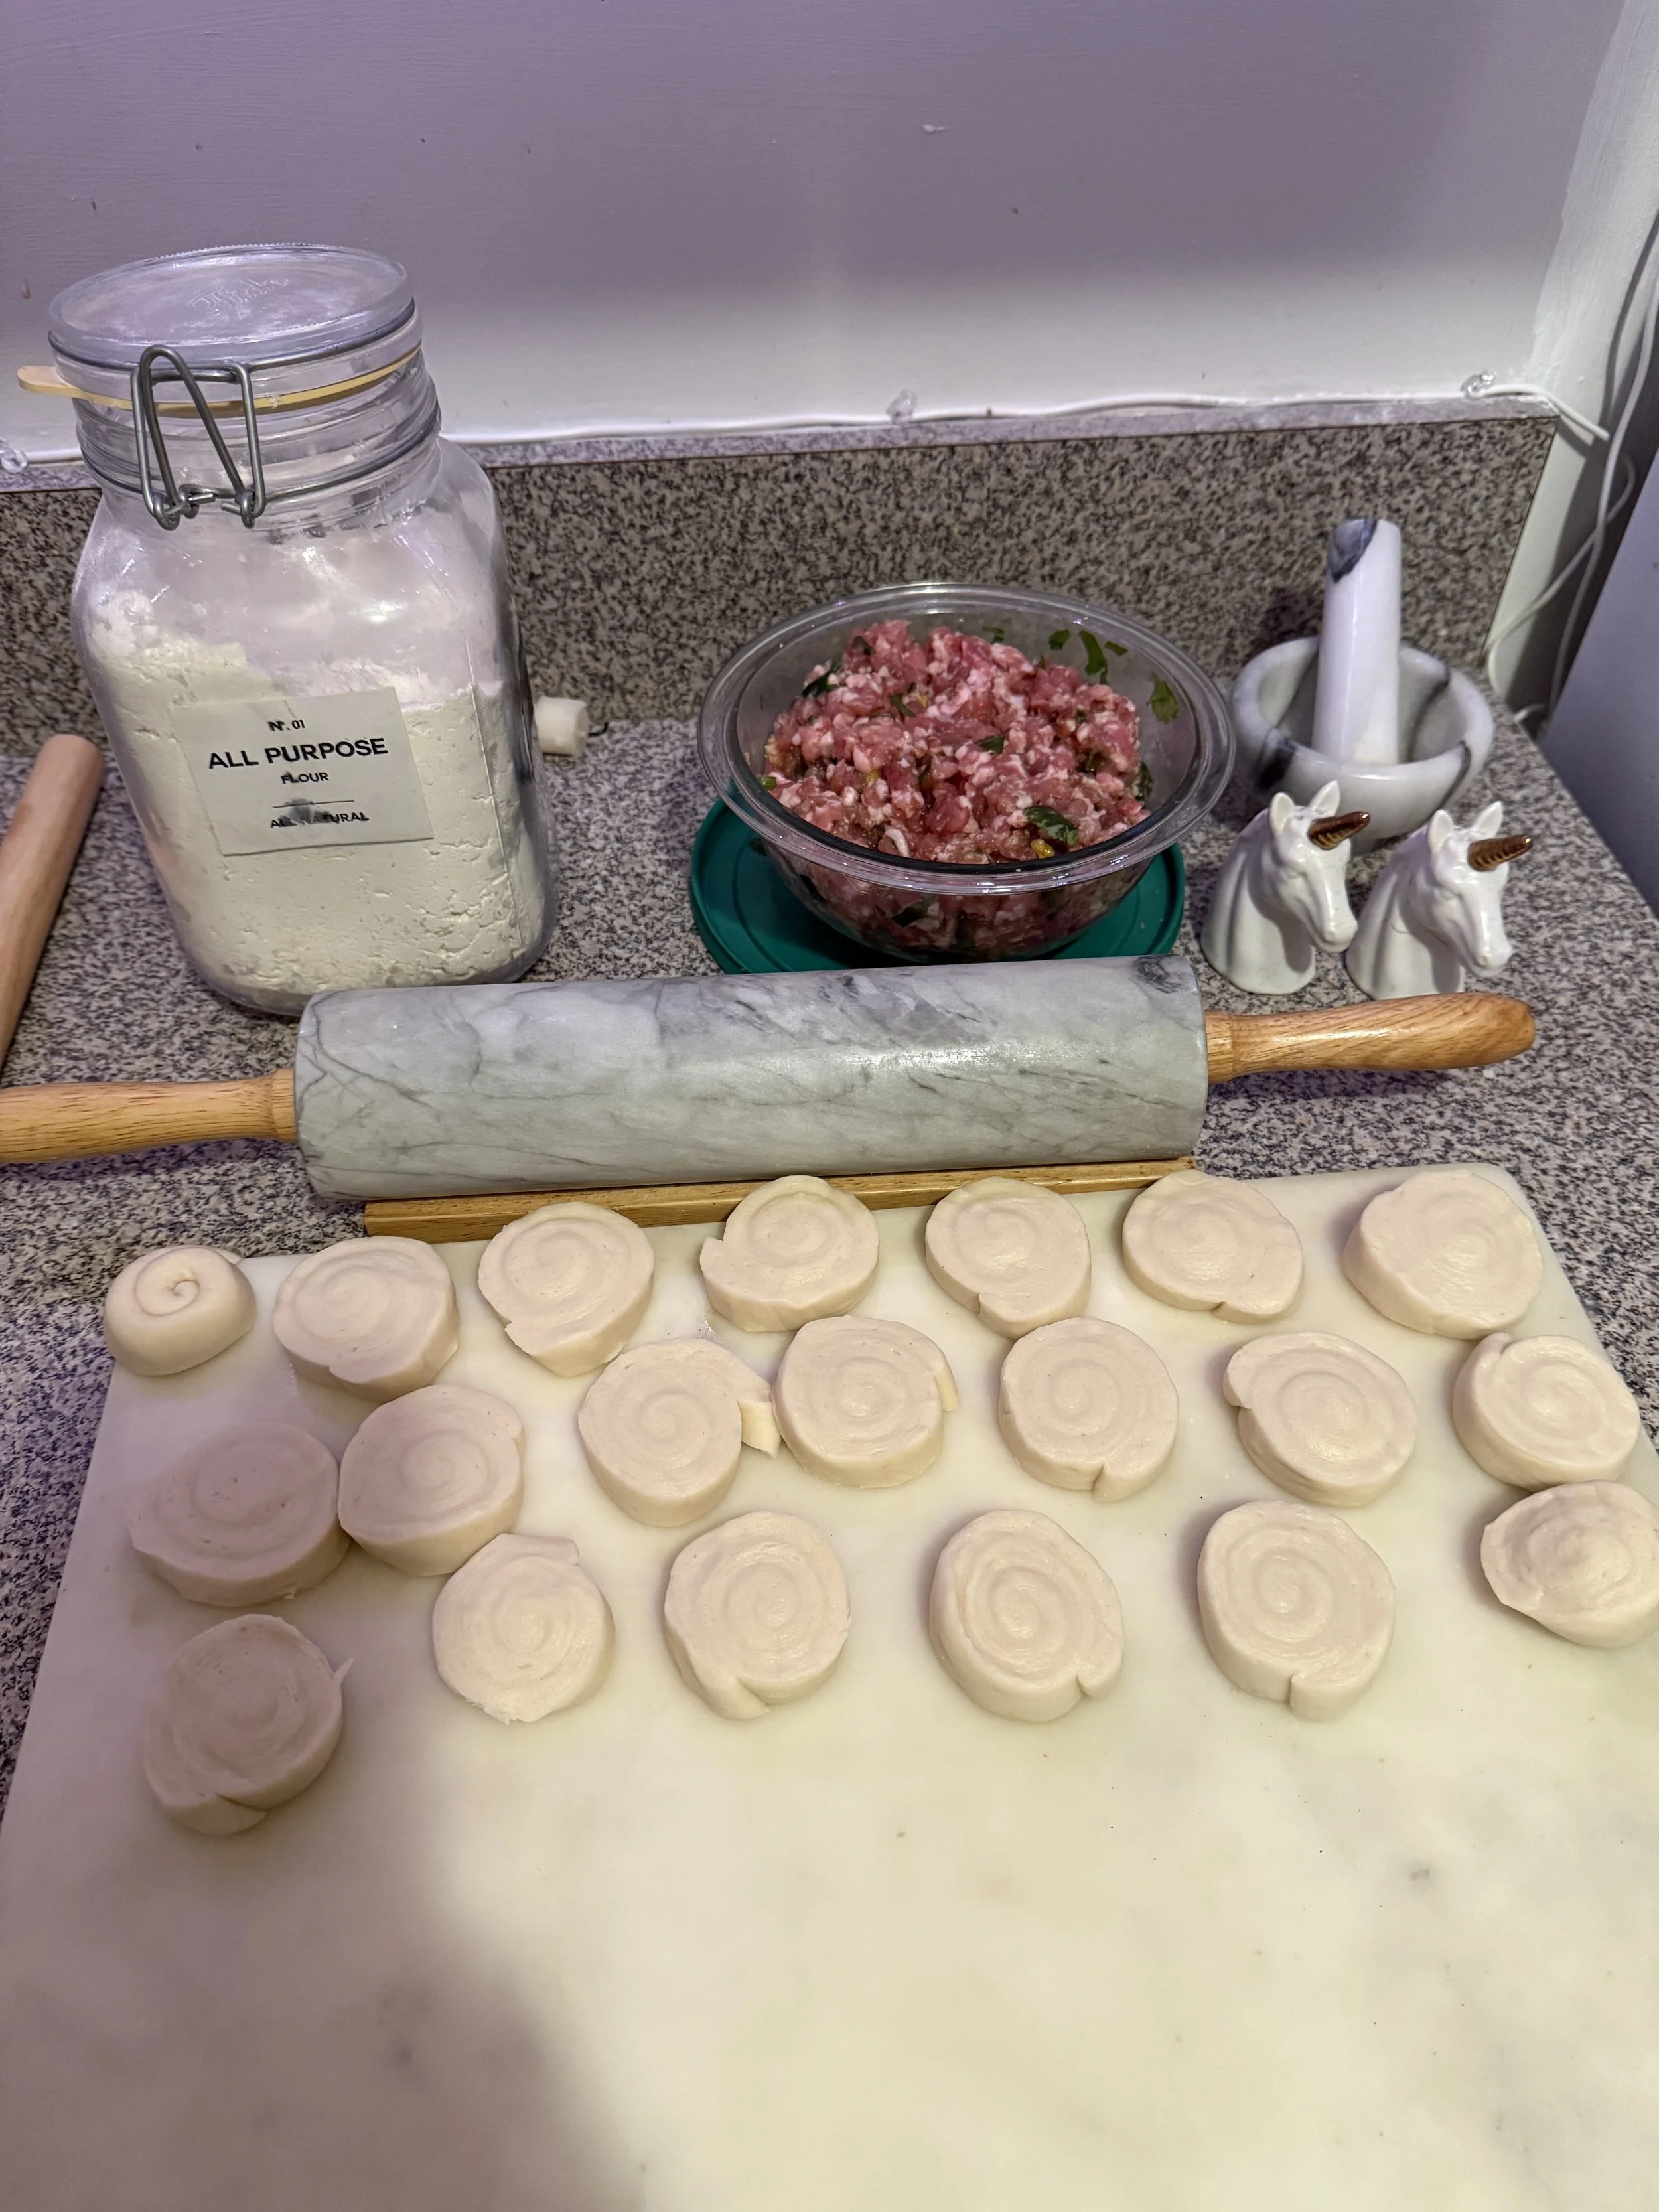
3. Roll and Shape the Dough
On a floured surface, roll the dough into a rectangle. Fold it in half and roll out again. Repeat this process 2 more times.
Roll the dough into a cylinder and cut it into 20 equal pieces.
Roll each piece into a 3” (8cm) circle. Use a rolling pin to thin the edges while keeping the center slightly thicker.
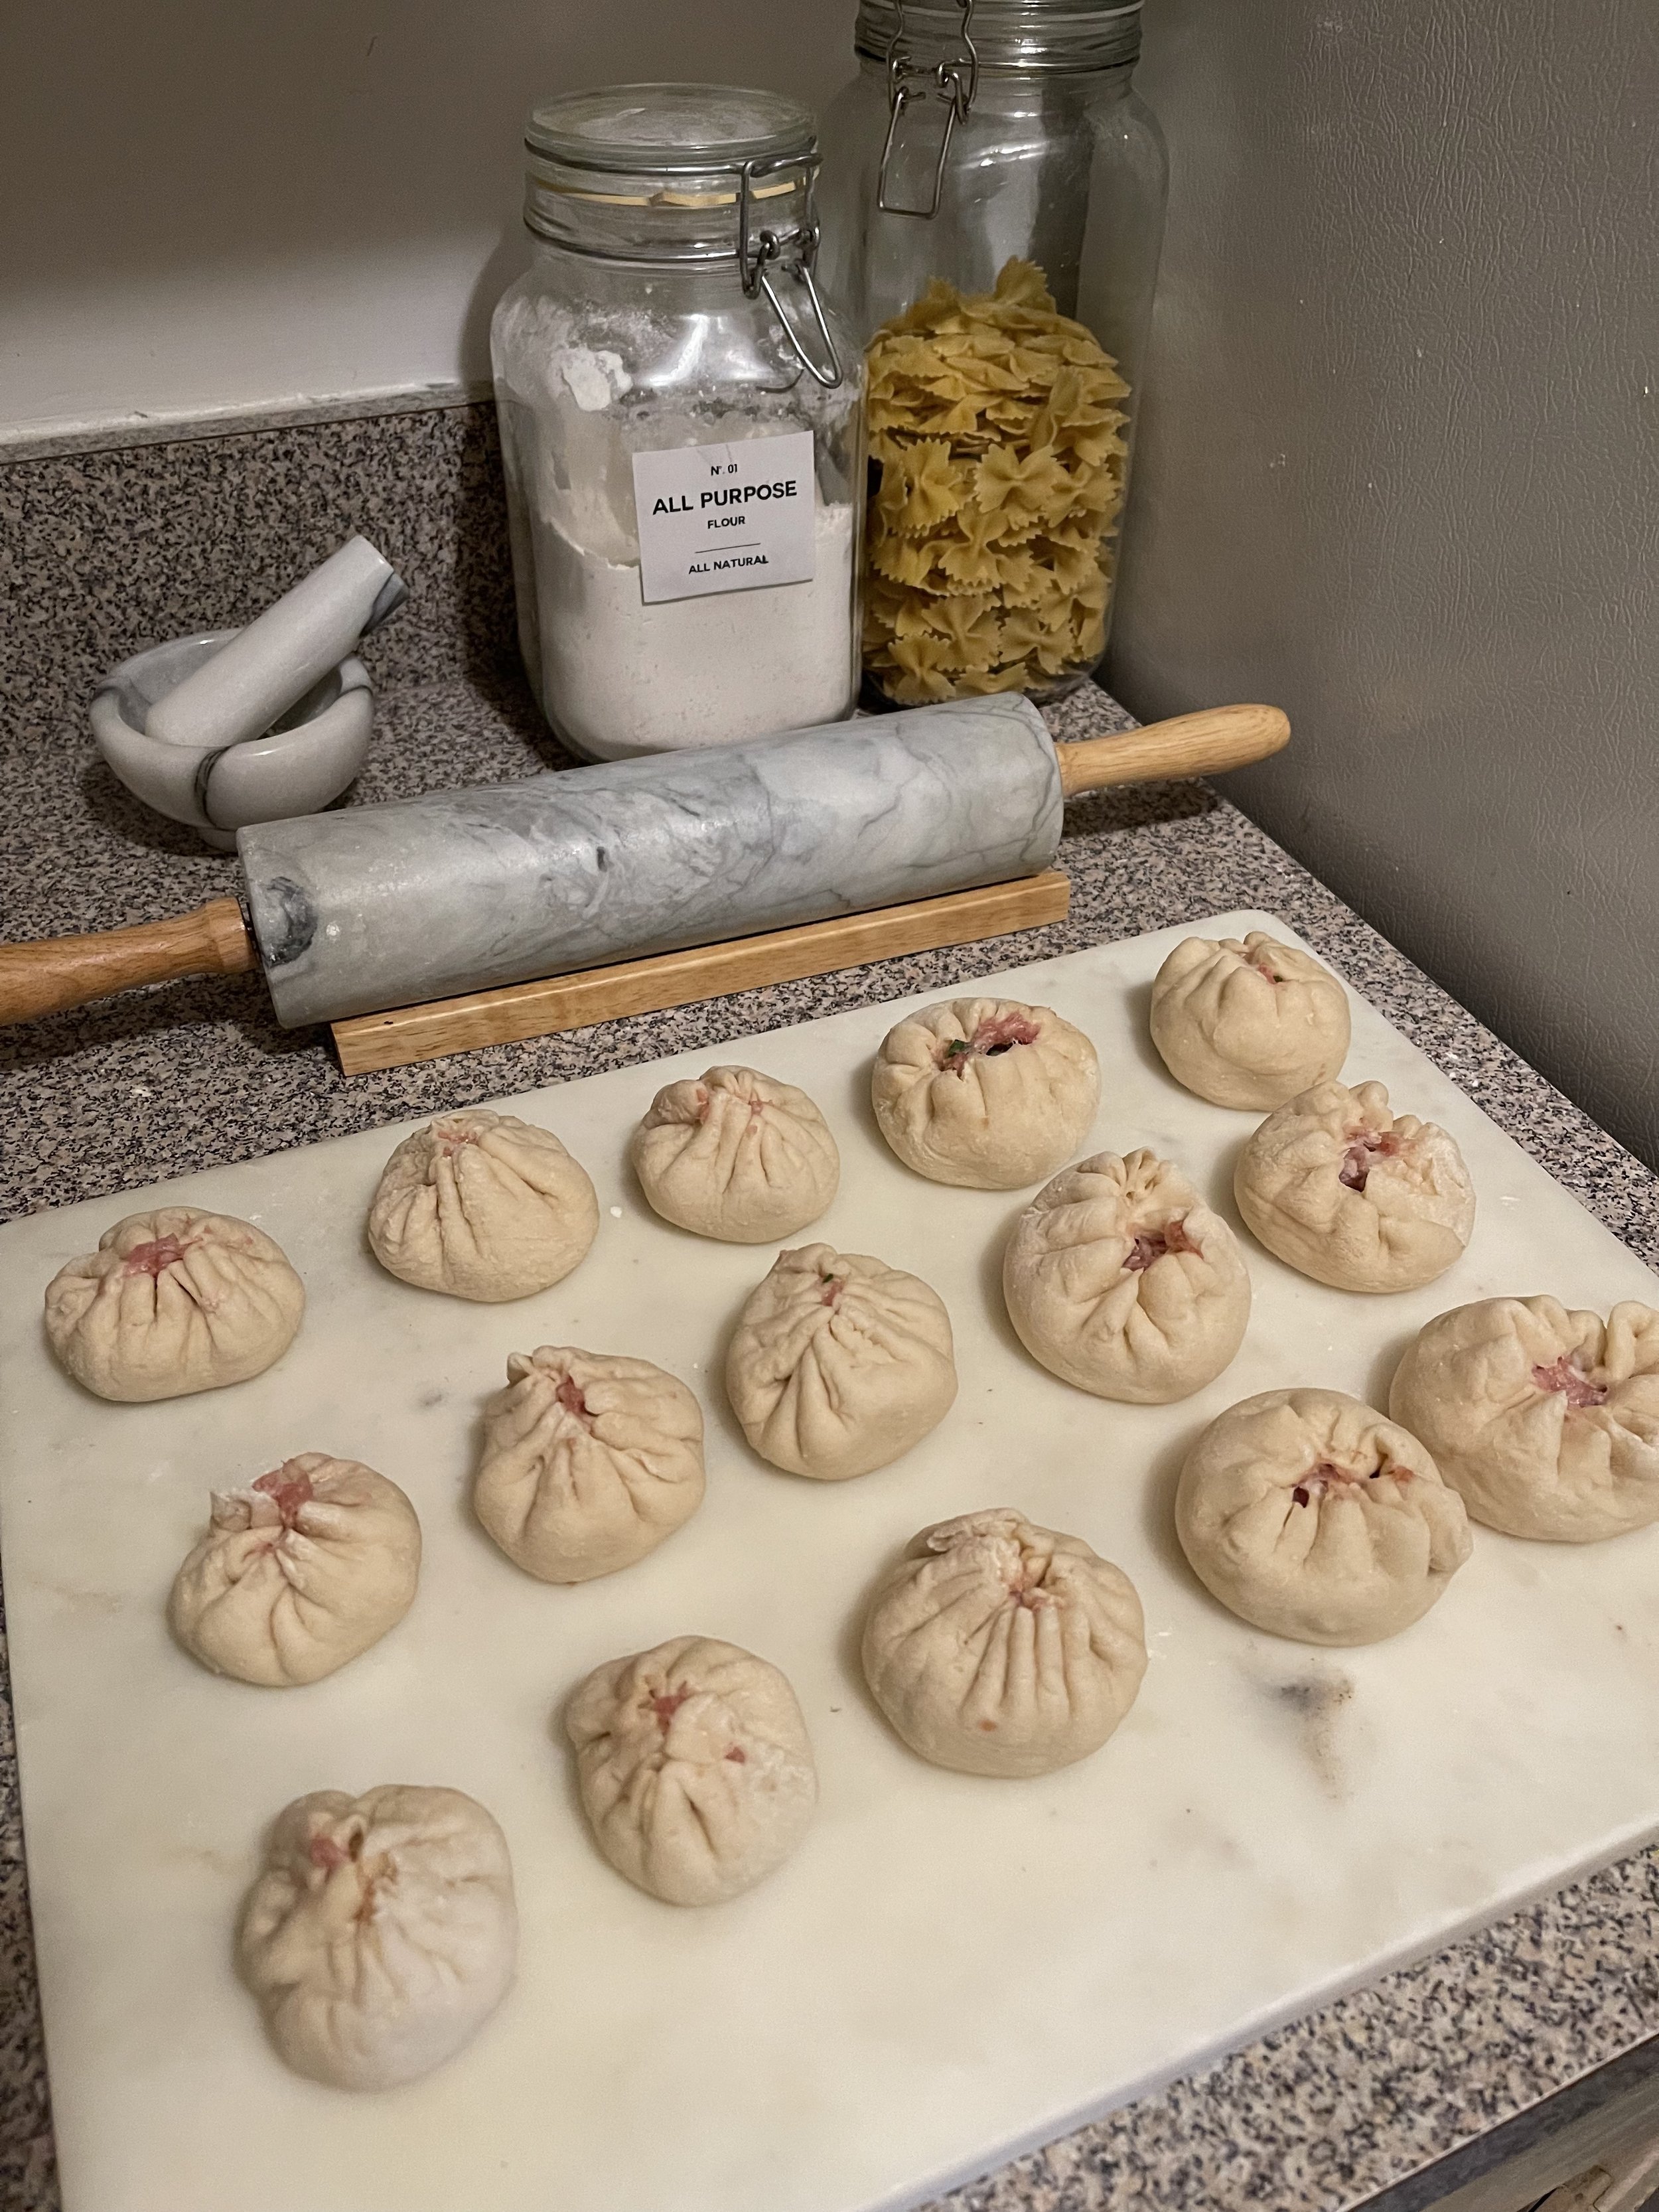
4. Fill and Pleat
Place 2 heaped tablespoons of filling in the center of each dough disc.
Pleat the edges around the filling to enclose it fully, pinching at the top.
Place the buns seam-side down on a baking paper-lined tray.
5. Cook the Buns
Heat a frying pan over medium heat and add the oil. Swirl it around to coat the base.
Place the buns in the pan, pleat-side up. Cook until the bottoms are deeply golden brown.
Add water to the pan until it reaches halfway up the sides of the buns. Cover and steam for 12 minutes, or until the water evaporates.
Remove the lid and cook for an additional 2 minutes to crisp up the bottoms.
6. Serve
Transfer the buns to a plate and sprinkle with sesame seeds. Serve with soy sauce and chili oil. Enjoy!
Tips for Busy Parents (Like Me!)
Plan Ahead: Splitting the process into two steps—prep one evening and assembly the next—makes these buns completely doable, even with a full schedule.
Freezer Friendly: You can freeze the uncooked buns after filling them. Just thaw and cook when ready!
These buns were a labor of love, and the smell of them cooking was well worth the late-night prep. While I’ve put my own spin on the story behind these buns, this recipe is inspired by Marion’s Kitchen. You can find her original version here. 🥟✨
xx,
mc